Learning to quilt might seem daunting at first, but whether you’re 50 or 15, you can learn to quilt. I didn’t start quilting until my 50’s, but now I absolutely love it.
So, I’ll walk you through how to start quilting through my own experience.
Why I learned to Quilt
I NEVER wanted to be a quilter because the idea of hand sewing even a tiny hem irritated me.
However, sewing and quilting have come a long way in the modern age. Now I can sew a whole darn quilt on my sewing machine at home, and so can you!
So, a couple of years ago, I refreshed my creative pursuits with the notion that I would learn how to quilt. And with the kids out of the nest so to speak, I needed a hobby to sink my teeth into.
However, I was interested in sewing and making all kinds of things way before that. Not to mention, I’m the sort of person who loves planning and results. Thinking about patterns and fabrics and colors and notions, oh my! I could do that all day.
It’s a dream to wander around my local fabric shop and fantasize about all the skirts, hats, and dressssses I could make. But making clothing is something I have done before and I was looking for something new.
Should you Start Quilting?
When it comes to quilting, all you need to start is an idea. Then you can buy all the gizmos and fabrics you want. Quilting is a great way to explore your creativity and get something beautiful and useful at the end of it.
And for me, quilting presented me with a new creative challenge. I could make wonderful, quirky things utilizing skills I learned in my teens. But you don’t need any experience to start out. You just need to be excited and willing to learn.
For example, you can make any pattern you want, like comfy, artistic ones or quilts with your favorite characters on them. Think of quilt-making like a puzzle. You take the fabrics you love, and mash them together to form a one-of-a-kind blanket.
So if that sounds like fun to you or you want to improve your sewing ability, you should definitely start quilting.
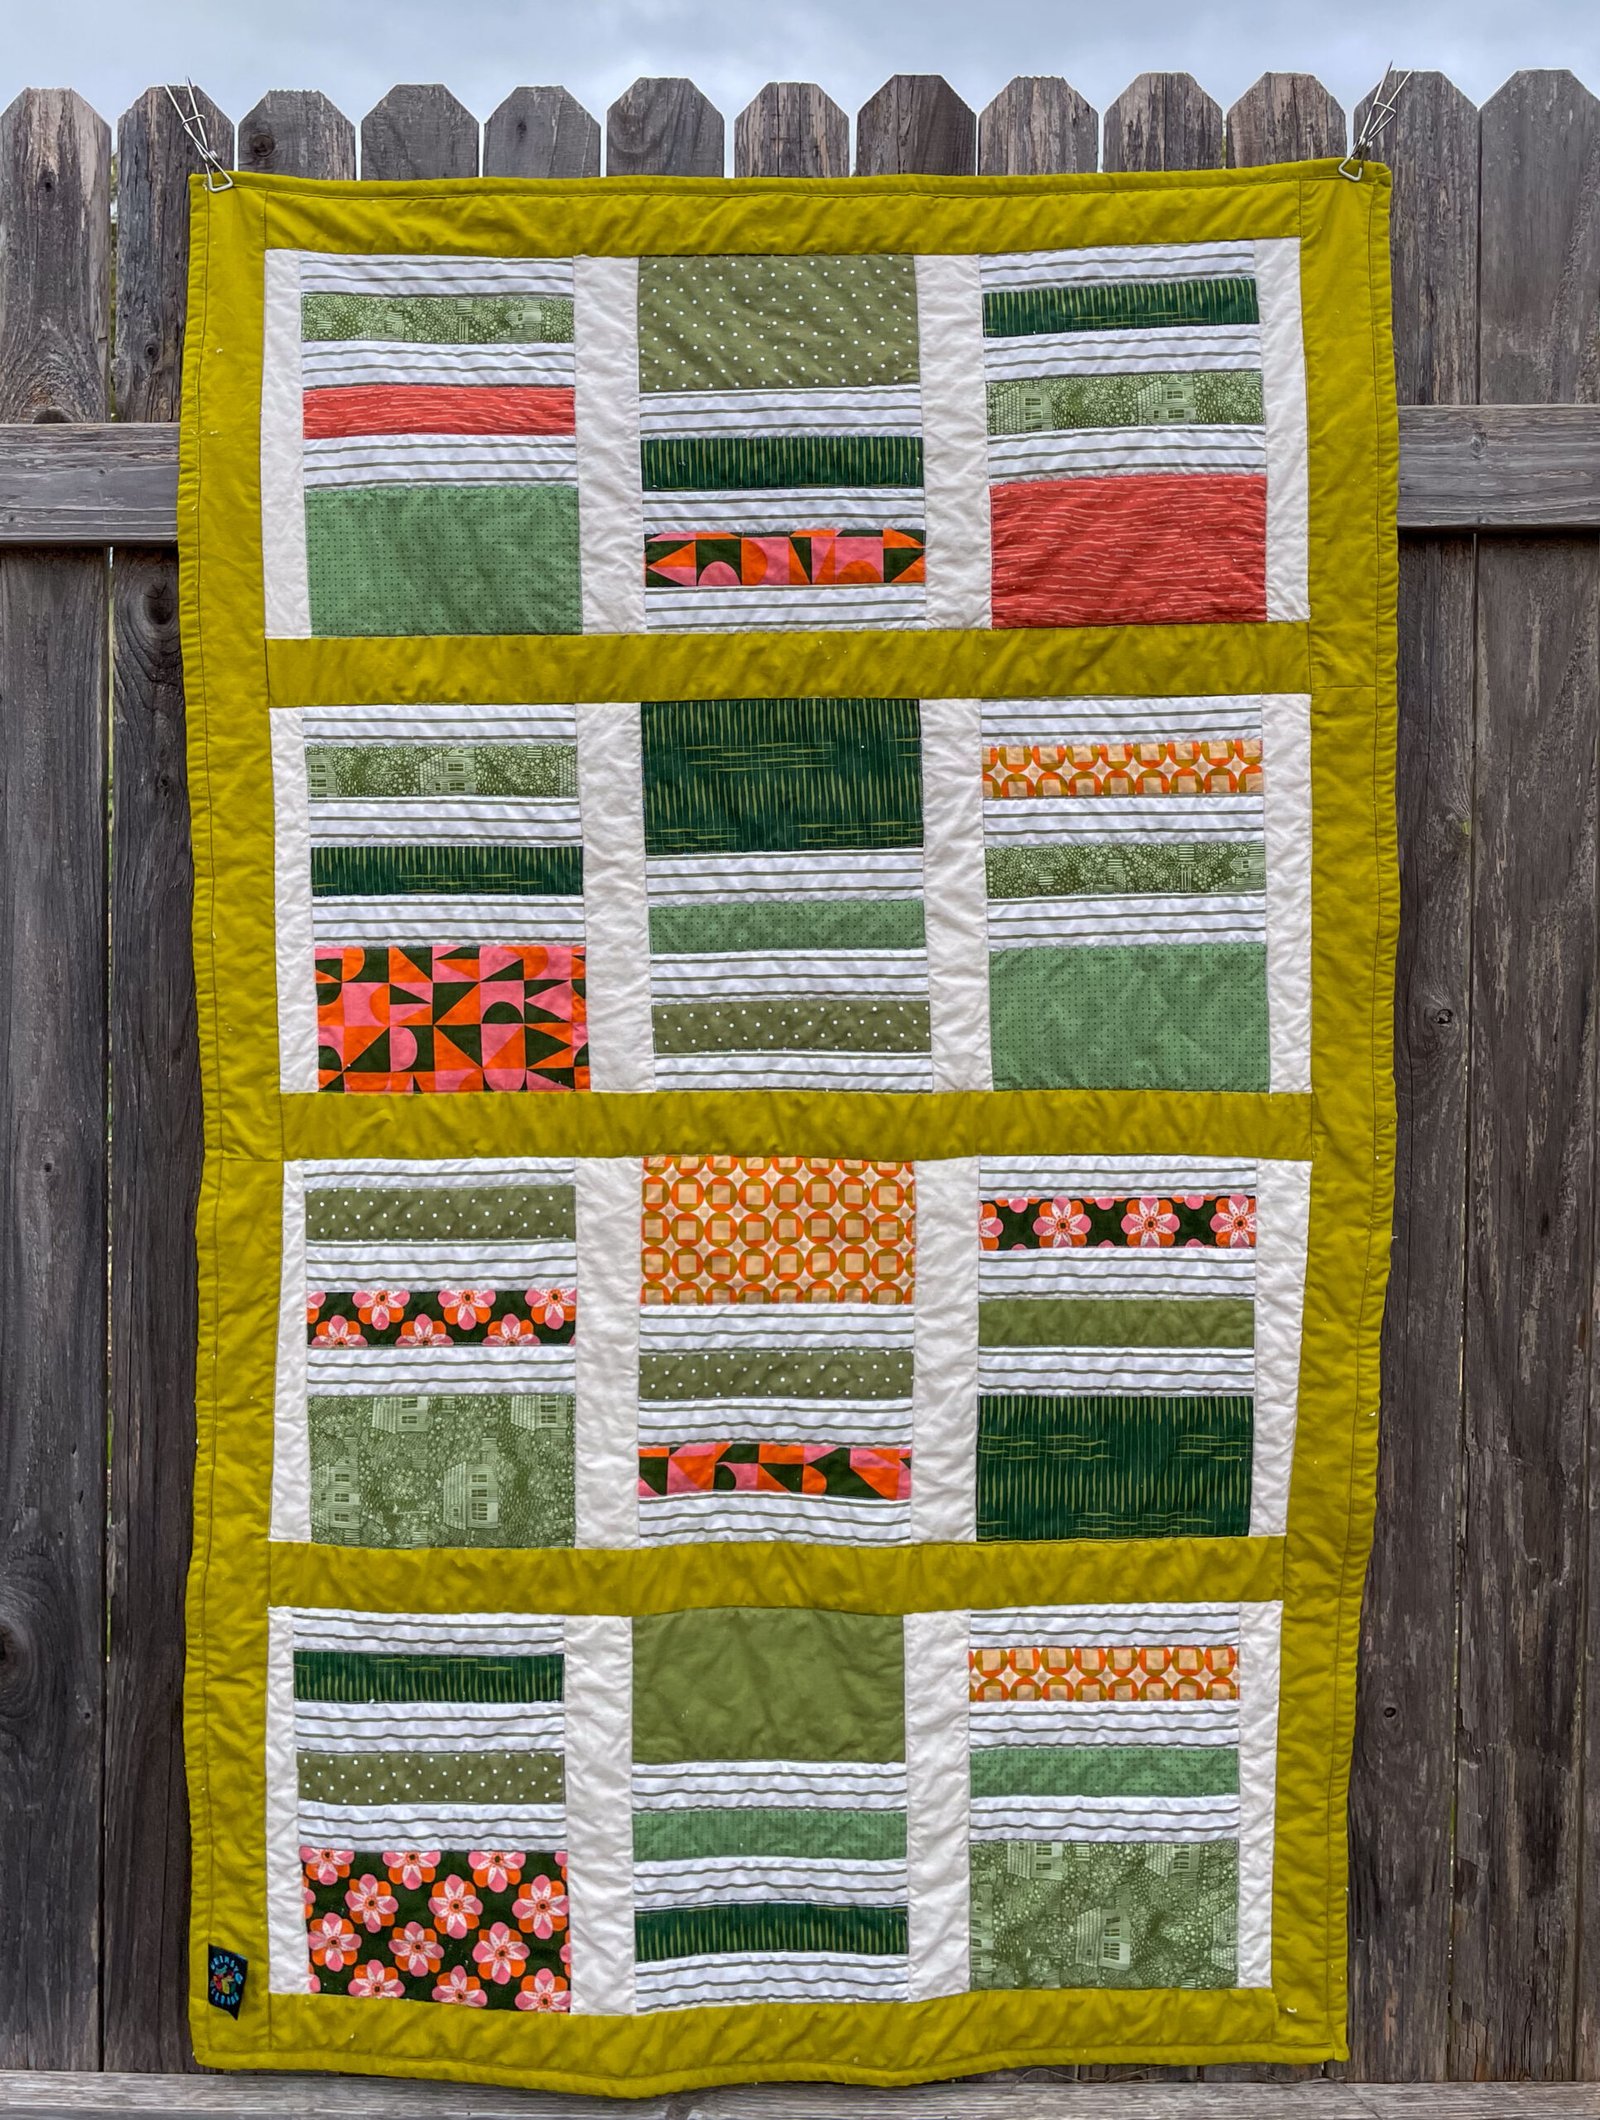
What is a Quilt?
Quilts are like a big fabric sandwich. They have a front-design (this is the fun part), batting (filling), and a backing piece of fabric.
You construct your quilt’s front design according to your pattern. Then you create your sandwich, and pin it or baste it together. This is where the “quilting” comes in. You can either send your pieces to a long-arm quilting company or quilt it yourself.
At home you can use your sewing machine to quilt the pieces together in simpler patterns like crisscross or diagonal lines. Last, you bind all the sides neatly together with fabric binding strips.
How to Start Quilting
1. Get a Pattern
Unlike clothing patterns which come with a physical tissue paper pieces, quilt patterns are more like guides.
Quilt Patterns are the recipe you follow to create the quilt. You follow it to understand the pieces you’ll need to cut and sew together. That means it will tell you how much fabric you need and the way you will cut and sew it together.
I like to find patterns in books or websites. Some are free, and some are paid. You can even get kits with the fabric included.
I’m a big fan of Lo & Behold Stitchery and Fat Quarter Shop.
2. Gather Supplies
At minimum, you’ll need:
- a sewing machine
- pins or clips
- chalk or other marking tool
- thread
- a good needle
- iron and ironing board
- basting spray
- scissors
- ruler
- rotary cutter and cutting mat (optional by highly recommended)
- fabric
- batting (the filling)
To get everything aligned properly, a cutting mat and iron are indispensable.
You’ll need enough fabric for the backing, plus the fabric for the pattern on the front.
3. Make a plan with our FREE W&W Project Planner
Keep a record of your projects as you go with our free PDF. It helps you remember key details like where you found your pattern and how much fabric you need.
Not to mention, it’s a great way to show off how many projects you’ve finished!
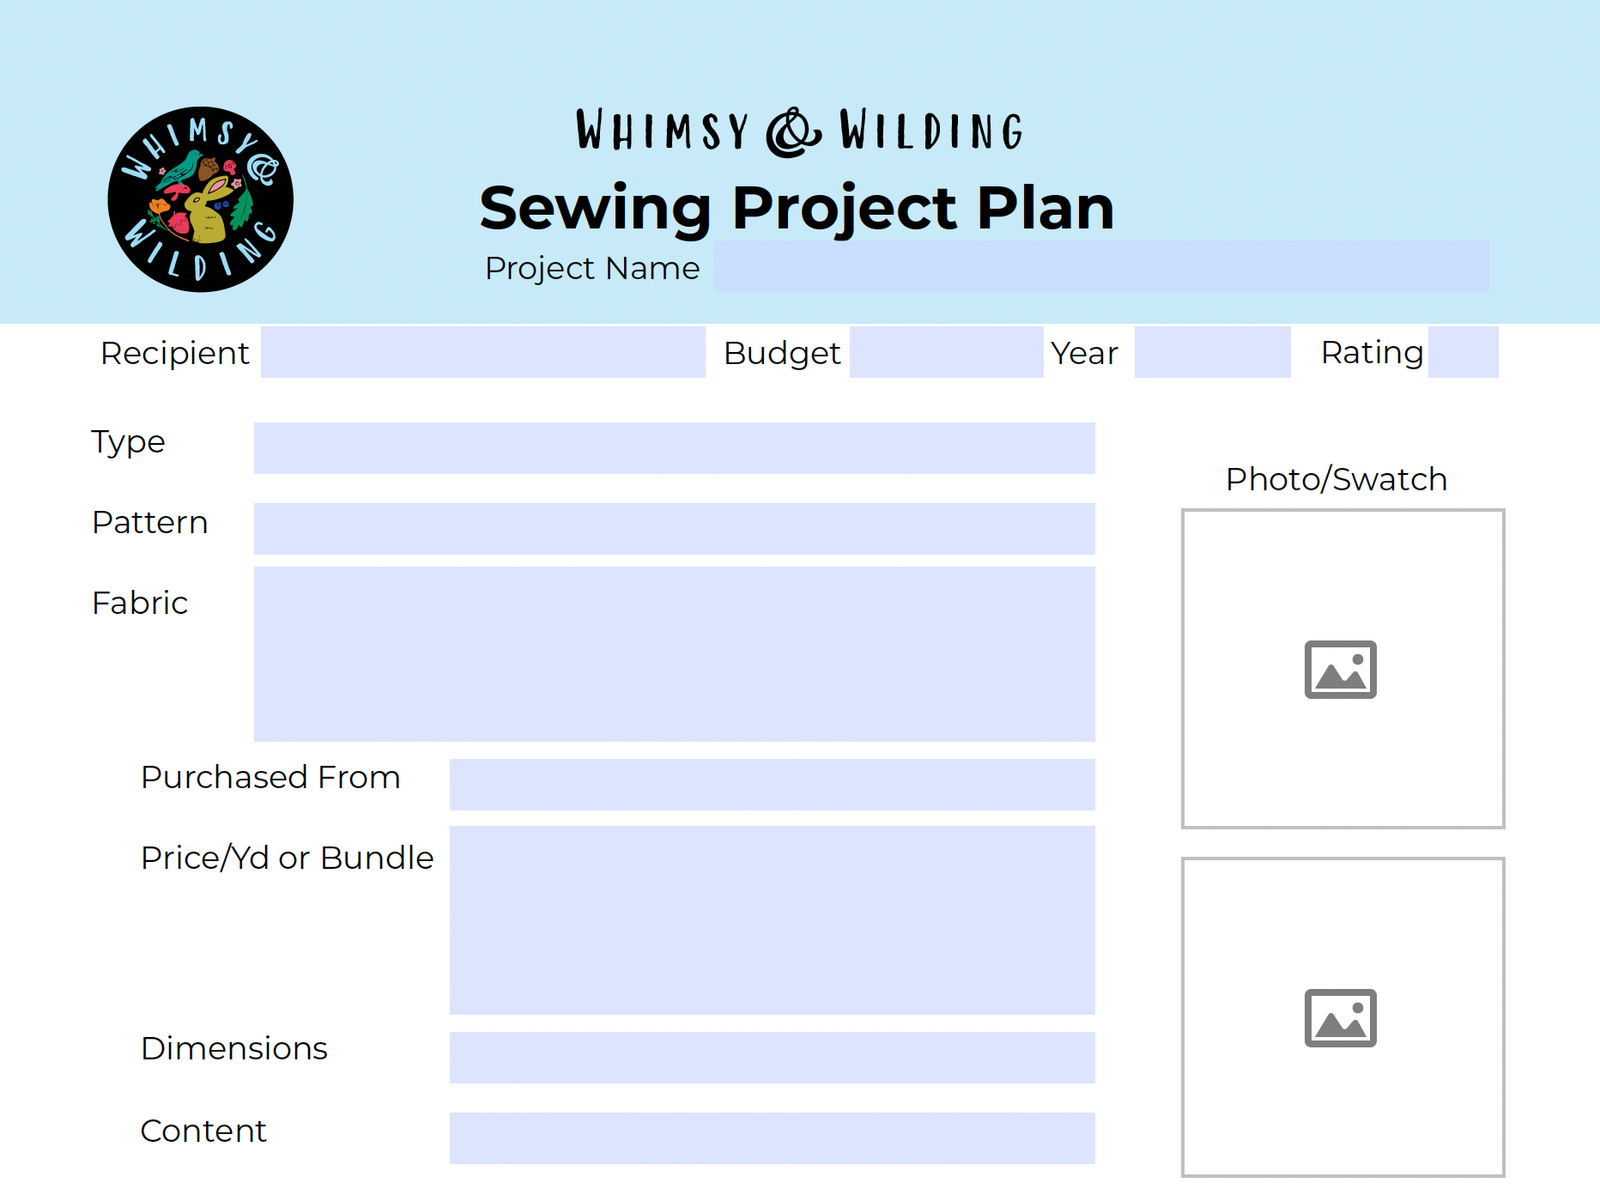
Get the FREE Whimsy & Wilding Project Planner PDF by joining our mailing list. Be sure to check your email’s spam folder!
4. Cut your Fabric
The only thing you don’t want to cut is corners – make sure your edges are crisp and straight.
I like to use an iron to get the fabric straight, then run through with a rotary cutter. Just follow your pattern and watch your fingers!
5. Pin Each Piece Together
In general I like to use clips instead of pins. Fasten your cut pieces any way you prefer.
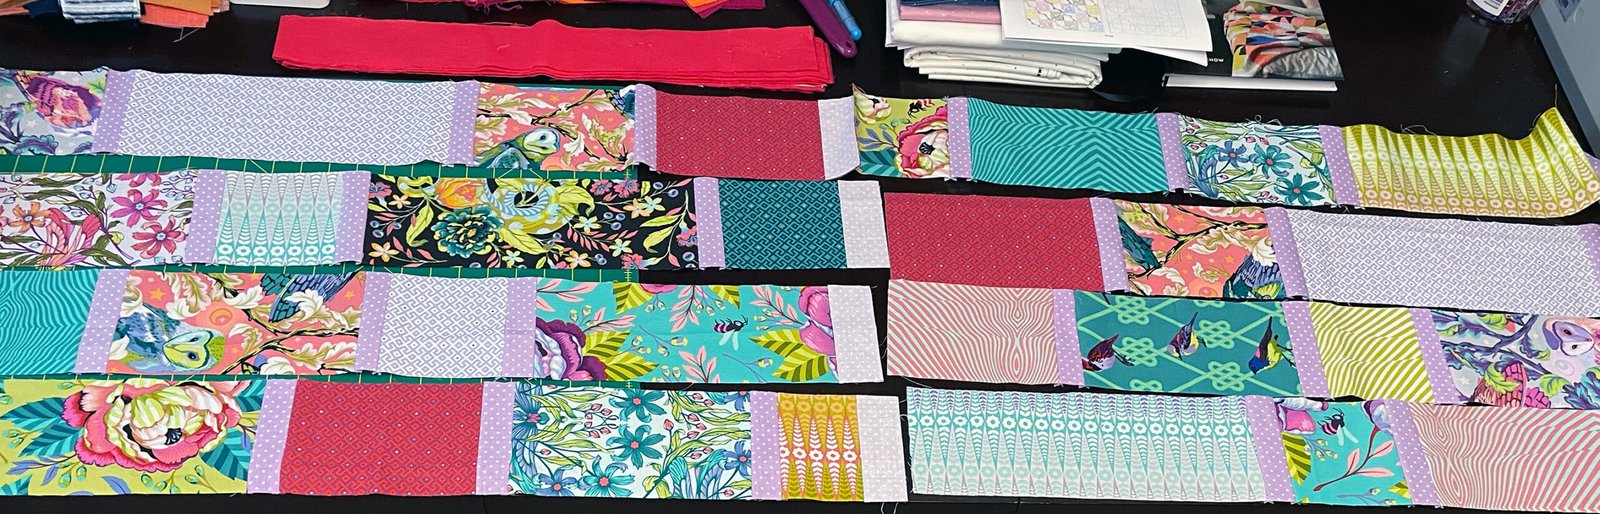
6. Start Sewing!
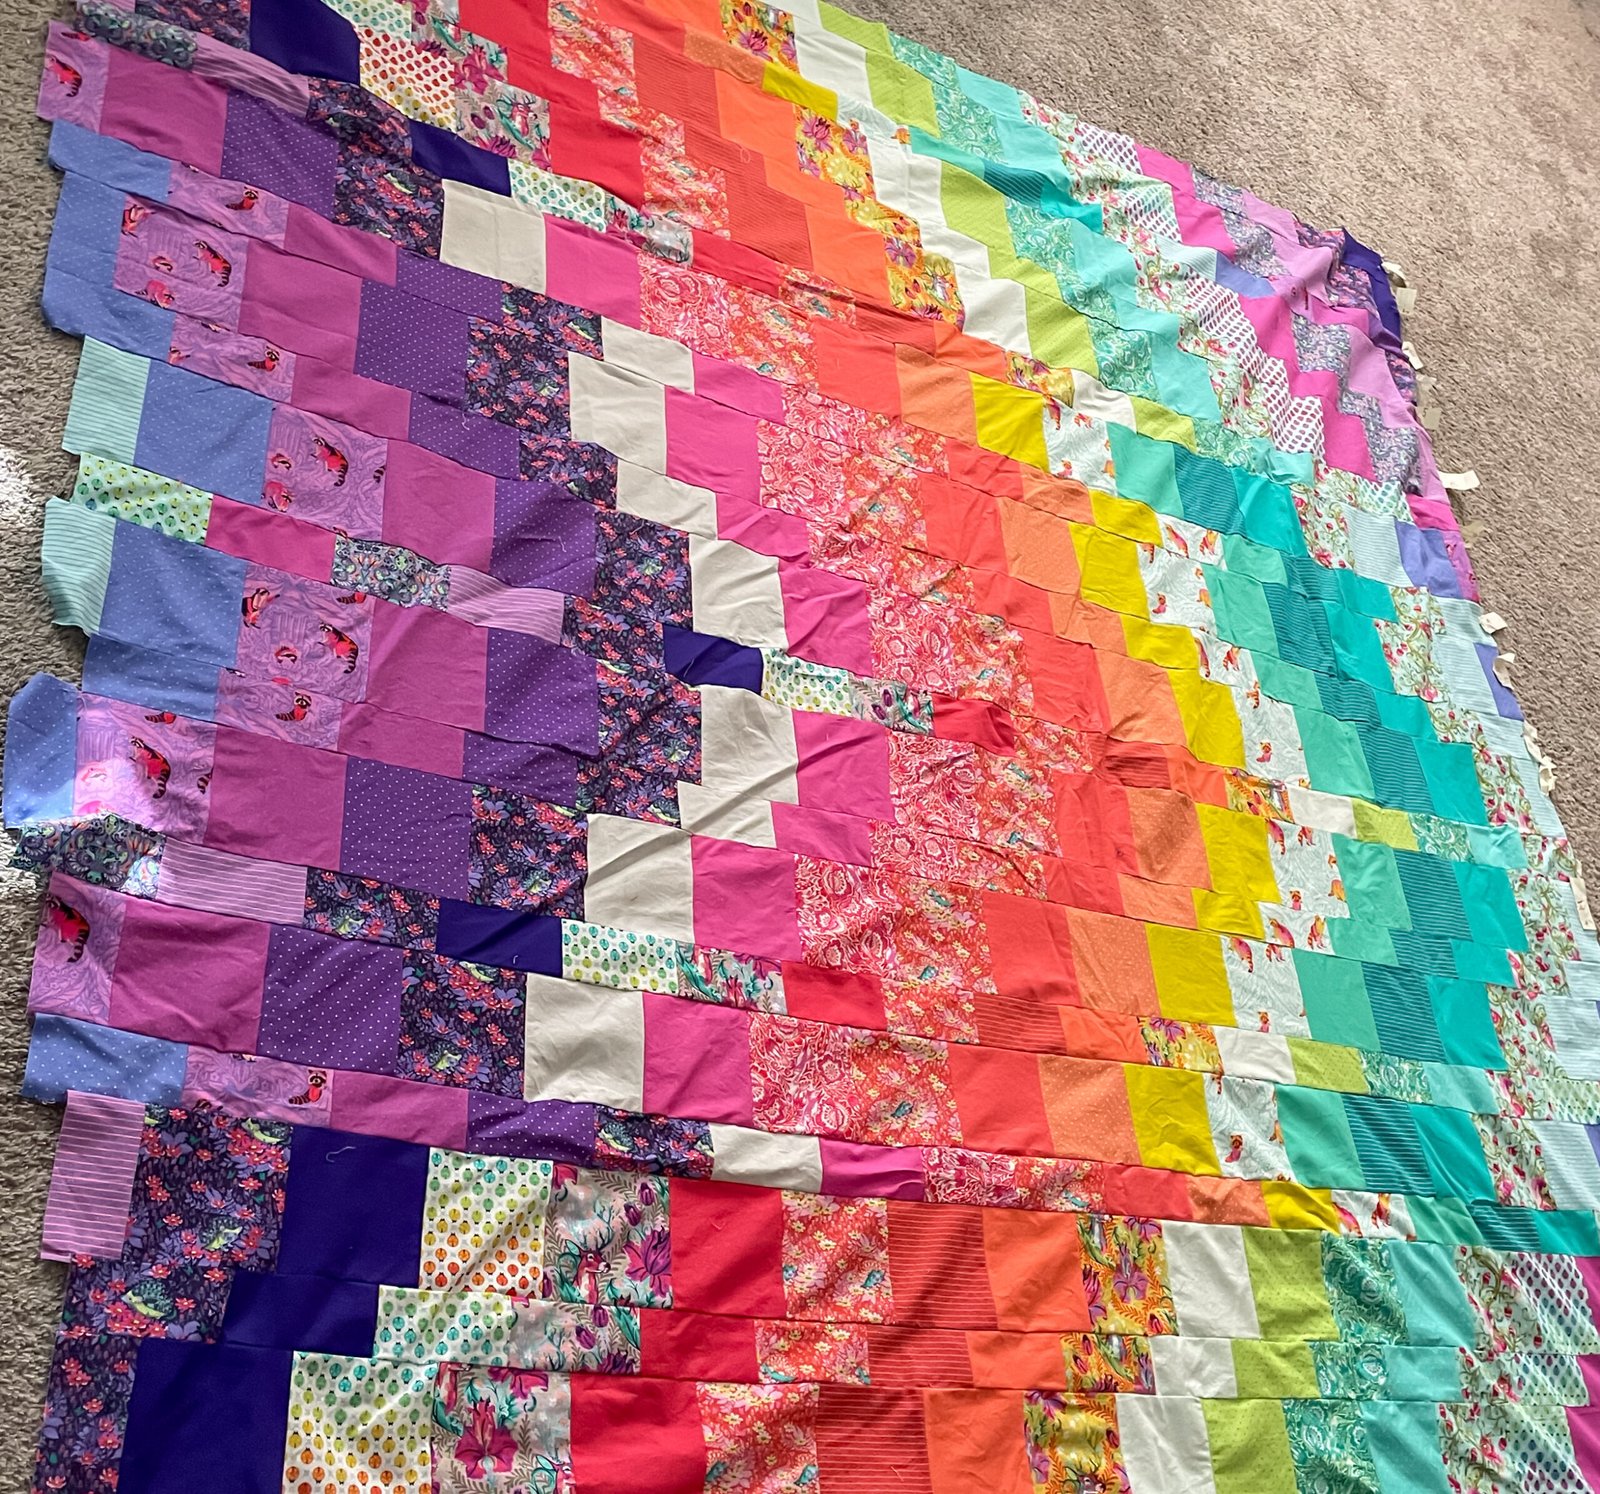
Sew your front pieces together according to the pattern. At the end you should have a large unified front-piece.
7. Quilt Everything Together
Now’s the time to use your super awesome basting spray! Lay your backing piece down and spray it with the adhesive. Make sure you have good ventilation and open a window.
Place your batting onto the sprayed backing. Give it a layer of basting spray, then lay your front piece on top. Basting spray is an adhesive that will wash out once the quilt is finished.
Draw guidelines onto your quilt using chalk or another washable drawing tool, then follow them with your sewing machine.
At the end, create a binding tape out of fabric and sew it along the edges to finalize your quilt.
8. Wash Your Brand New Quilt!
After all your hard work, give your quilt a wash and enjoy it for years to come or gift it to a friend!
9. Don’t get Discouraged
Quilts can seem like a big task, but check out my tips and tricks below so you don’t get burnt-out.
Tips and Tricks for Beginners
Start Small
You don’t have to make your first quilt a masterpiece. Pick a project that “sparks joy”, but isn’t too complicated. And you can even give yourself a deadline (but don’t stress!).
The most important thing is to finish your project. Like making pancakes– the first pancake is always a little funky. So don’t expect your first try to be perfect. Use it as a jumping-off point for your next one!
Do a Project You Love
Pick a project you want to do! I love looking at fabrics and picking out fun color combinations. Then I put them together. My favorite is a Totoro-inspired quilt that I made for fun.
Give Yourself Space
This is literal and figurative. Of coure you need lots of space to make a big quilt. But if you get frustrated or making the quilt is giving you trouble, step away.
Quilting doesn’t have to be a difficult or daunting task. It should be exciting for you, even when the process gets complicated.
You can always come back to your project after you’ve calmed down. Hobbies like quilting and sewing are meant to be fun and engaging. If it’s too much to handle, try something else for a while, like a small project.
Make Smaller Projects
There’s nothing more rewarding than getting a hand-made quilt as a result of your hard work. However, learning to quilt can be as frustrating as it is rewarding.
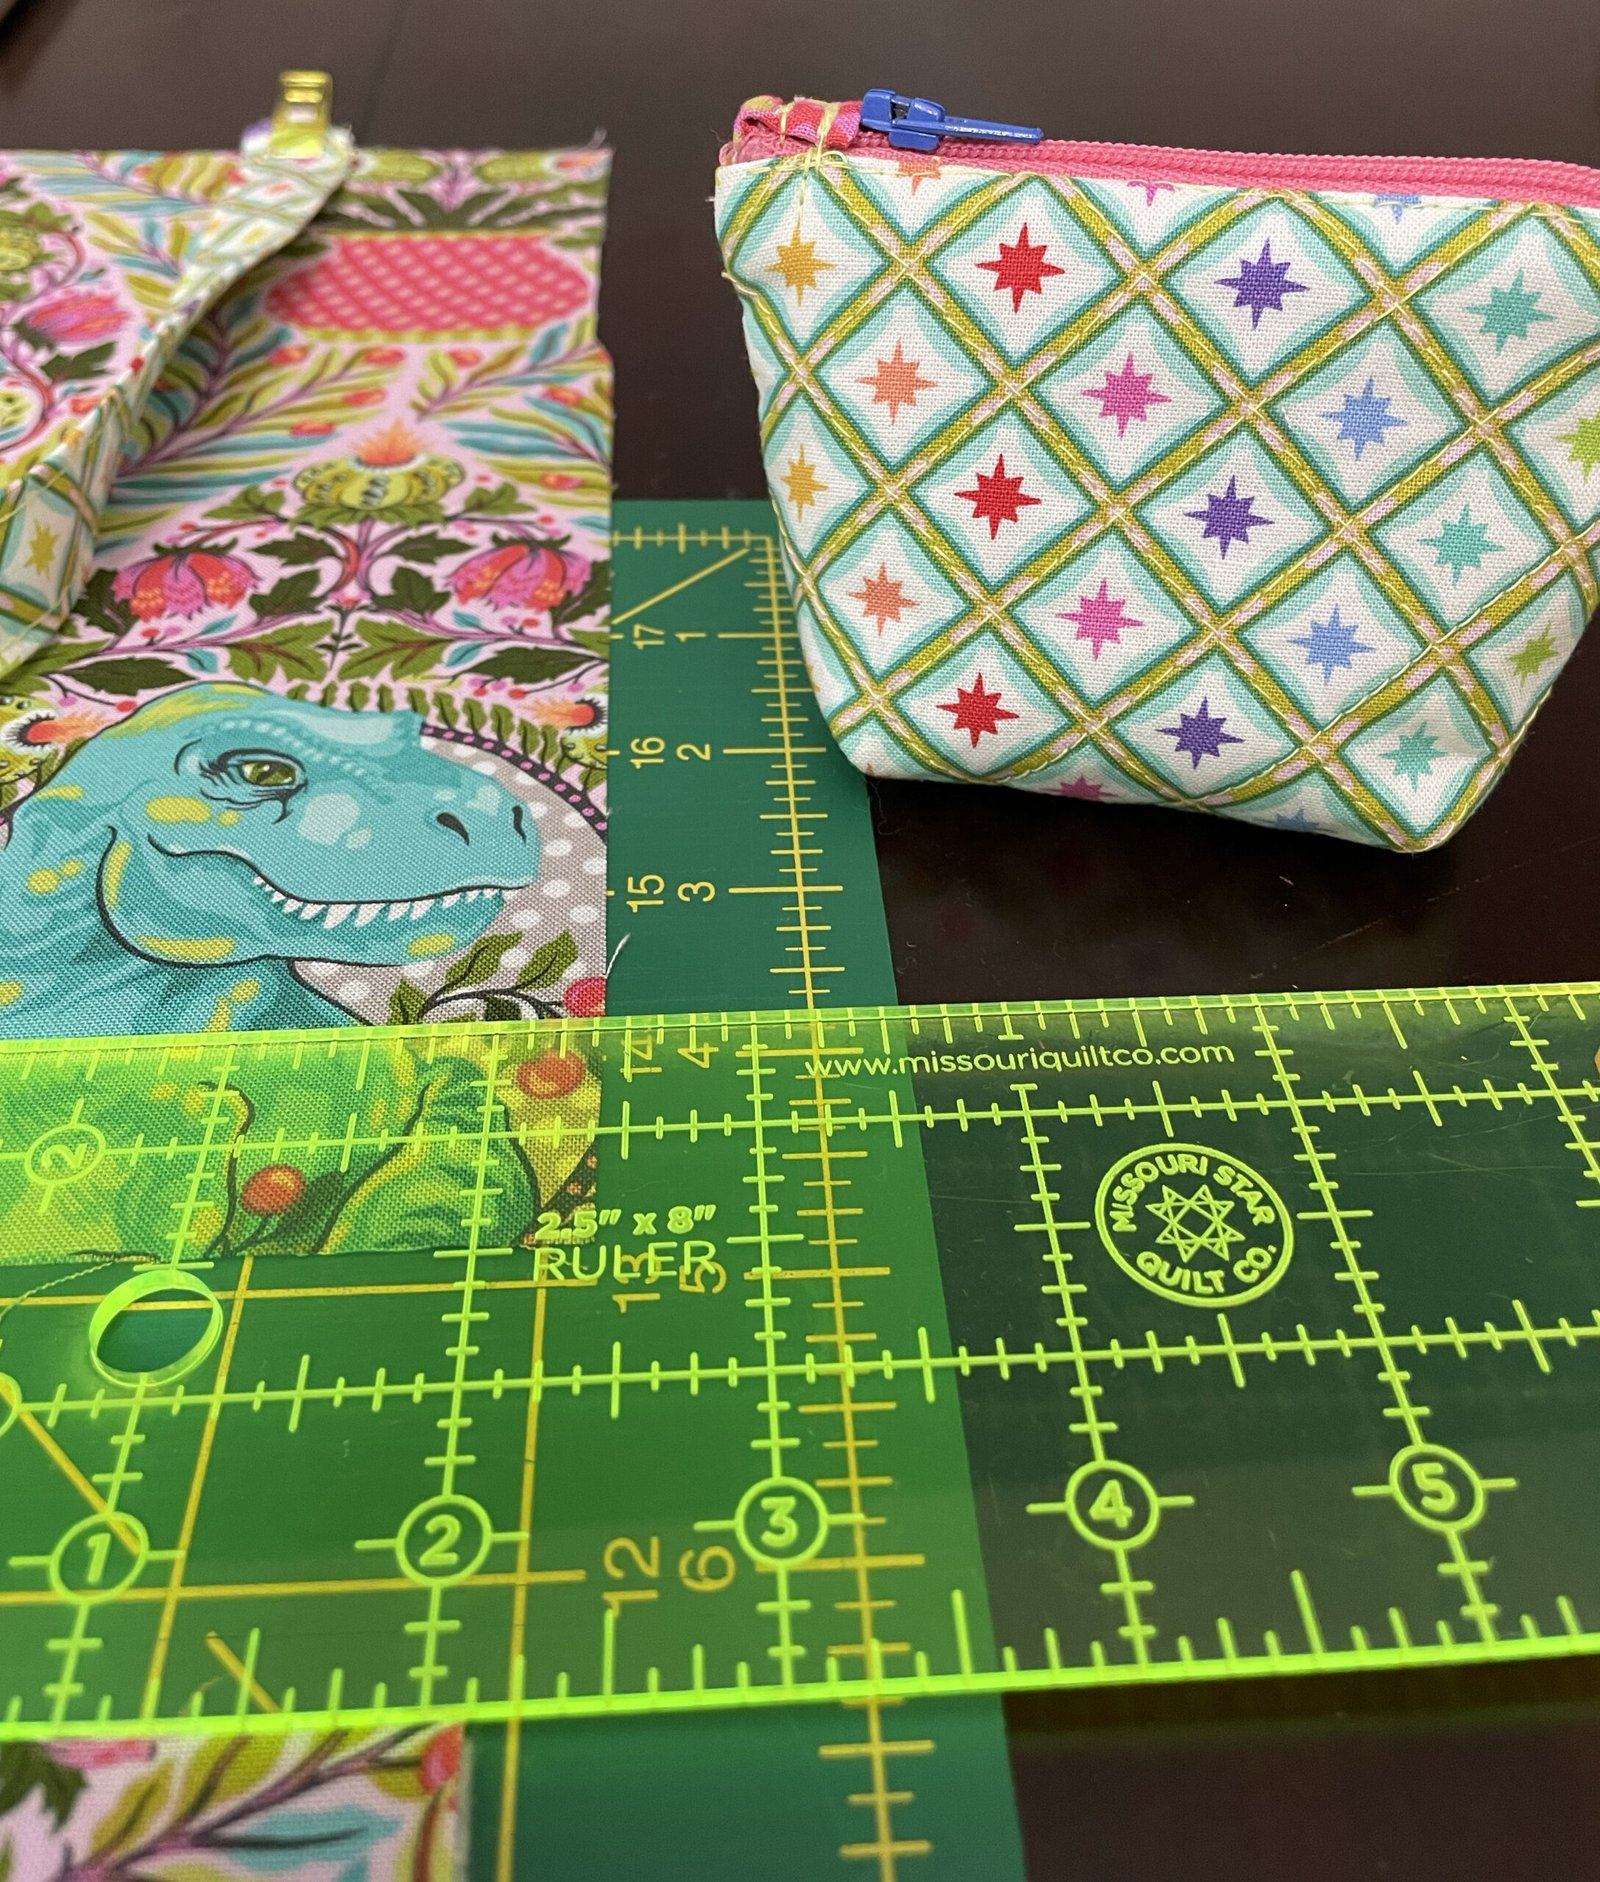
So when I’m stuck in a rut, or don’t feel like the quilting task ahead, I make something else in the meantime! That means finding quicker projects– with a purpose.
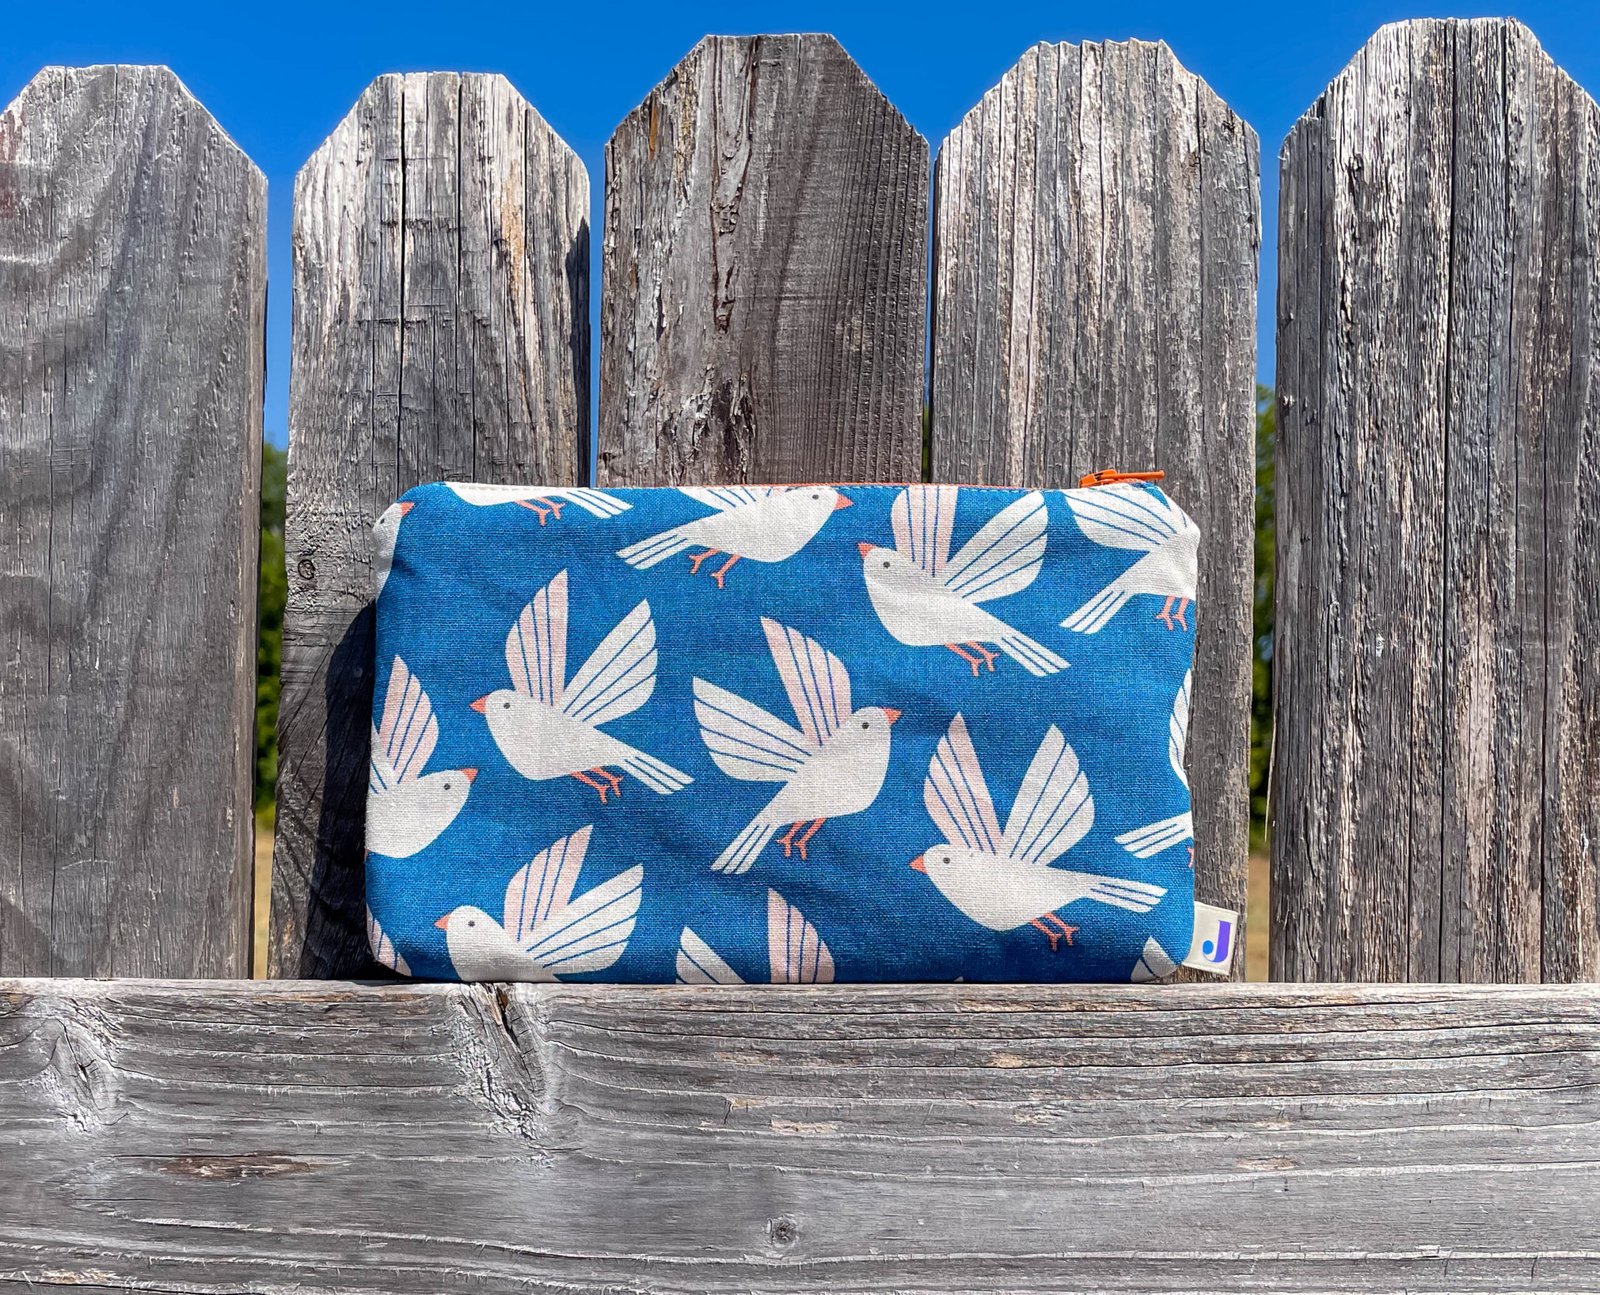
For my first short-term project, I started with a small zip bag. Thank goodness for the internet because I was starting from square one. But I knew I’d see quick results and would have a cool bag I could put to use right away.
And there it is – the key, for me, to learning how to quilt and sticking to it is to partner quilt-making with short term projects. You can keep your enthusiasm high, while continuing your long-term project.
My Experience Quilting
I fell in love with quilting. In the two years since I learned to quilt, I’ve completed TWELVE quilts.
I even have six quilts cut, and am ready to sew the quilt tops, plus so many more planned in my head.
But it hasn’t always been easy for me to make them. My problem?
Quilting is a lengthy process, and while I love the planning and results, I don’t necessarily love the in-between parts. Plus, it can take a long time for your results to manifest.
Solution? I decided to make short-term projects during my long-term quilting projects in order to keep my interest up. That way I could keep my need for results satisfied, without getting bored.
Making bags keeps my planning and creative brain busy and fulfilled. Meanwhile I’m quilting away. When I catch myself trying to rush through the less enjoyable parts of the process, I can either jump to sewing a bag or center myself and push through.
That’s how my interest in learning to quilt led to making handbags. And I’ve been making them like hotcakes ever since.
So the answer is, yes- you can learn to quilt at any age! You just need some sewing know-how, notions, and your imagination. If I can do it, you can too!